
Start Here: What to Know Before Making Your First Charcuterie Board
A little history….
If I were to ask you when charcuterie boards became popular, what would you say? Would you say in the last 5-10 years? 20 years? What if I told you that they’ve been around since the 1500’s and have experienced bursts of popularity ever since? The charcuterie board first gained popularity in medieval France in the 1500’s. Back then, “charcutiers” or pork butchers specialized in curing, preserving, and displaying the meat, which became a mainstay of French culinary culture. While this was the beginning of its history, the charcuterie board as we know it today really has its roots in the simple meals of meats, cheese, bread, and fresh produce of the European working class. Those simple meals became the cheese board appetizers in formal meals in the 18th and 19th century, which gave way to the cocktail party with finger foods in lieu of formal dinners in the early 1900s. Our modern day resurgence of charcuterie boards really began in the 1990s when grocery stores started to expand their offerings and then they really took off once social media came on the scene and people shared their images of their beautiful and elaborate boards. Personally, I love a charcuterie and I’m pretty sure it will be our dinner every day once our son leaves for college (don’t tell Bob). It’s a few years away, but I need to get prepared now. So let’s go over what you need to consider when making your own charcuterie board. And in saying this, I mean the board itself - not its contents.

Evolution of the charcuterie board
Simple meal of bread, meat, cheese, and vegetable.
Finger food
Charcuterie board
What type of wood to use and what size?
The best type of wood to use for a charcuterie board is hardwood. This is because hardwoods are more dense and have a closed grain. This allows you to use it as a cutting board as well. Hardwoods are less likely to dull your knives or scar. Some examples of hardwoods include walnut, maple, and oak. These will be more difficult to cut into your desired shape but it shouldn’t preclude you from considering or using them if you’re a beginner. Hardwoods can also be visually appealing with their varying grain patterns and coloring. Live edge hardwoods are a popular choice for charcuterie boards as they add to the visual character with their natural edges rather than a straight edge.
As far as size goes, that can vary based on the size and amount of storage space in your kitchen and how many guests you plan to regularly serve with the charcuterie board. Obviously, the smaller the space available and fewer people you will be serving means a smaller board. More space, more people = bigger board. The ideal width of a charcuterie board is 12” - 14”. The minimum length is around 12” and can go up from there.
Why is it an easy project for a beginner woodworker?
At its essence, a charcuterie board is a piece of wood. At the minimum, all it would require would be a little sanding and finishing. You may not even need to cut it at all. But to give it some personality or a handle, a small amount of cutting may be necessary. There are many templates available - just Google “charcuterie board template” and you will find any shape you may be looking for. Or draw your own template and go from there.
If you use a live edge piece, you will need to remove the bark from the edges. You may think that removing the bark will take away from the character or that it isn’t a live edge then. But oftentimes, chunks of the bark will fall off naturally during the drying process and you are left with an uneven edge of bark. If you keep the bark, it does require additional finishing steps to give it the longest life. We aren’t going to cover those in this post. To remove it yourself, you can use a mallet and chisel to remove the chunkiest pieces. If using a chisel, you’ll want to be careful about gouging the wood. Once the big pieces are off, you may find that sanding works well. YouTube has several tutorials on removing the bark from live edge slabs.

Some of our live edge charcuterie board stock
The next step is to fill holes, cracks, and other imperfections. The most common way to fill these is using a food safe epoxy; there are several products available out on the market. Filling these imperfections is imperative from a food safety standpoint as open cracks and holes can be breeding grounds for bacteria that can make your guests sick. Then it’s onto sanding! Everyone’s favorite step. Start with an 80 grit and move your way up 180 or 220 for a nice smooth surface that’s ready for your finishing.
What type of finish should I use?
Whatever finish you use, it needs to be non-toxic and food safe. So using your typical woodstain product is a no-go. The benefit of using a live edge hardwood with interesting grain patterns or coloring is that a stain isn’t necessary. Any finishing that you use will bring out those qualities and highlight the character of the board. Here are some food safe finish options:
Mineral oil - soak in oil and then dry off
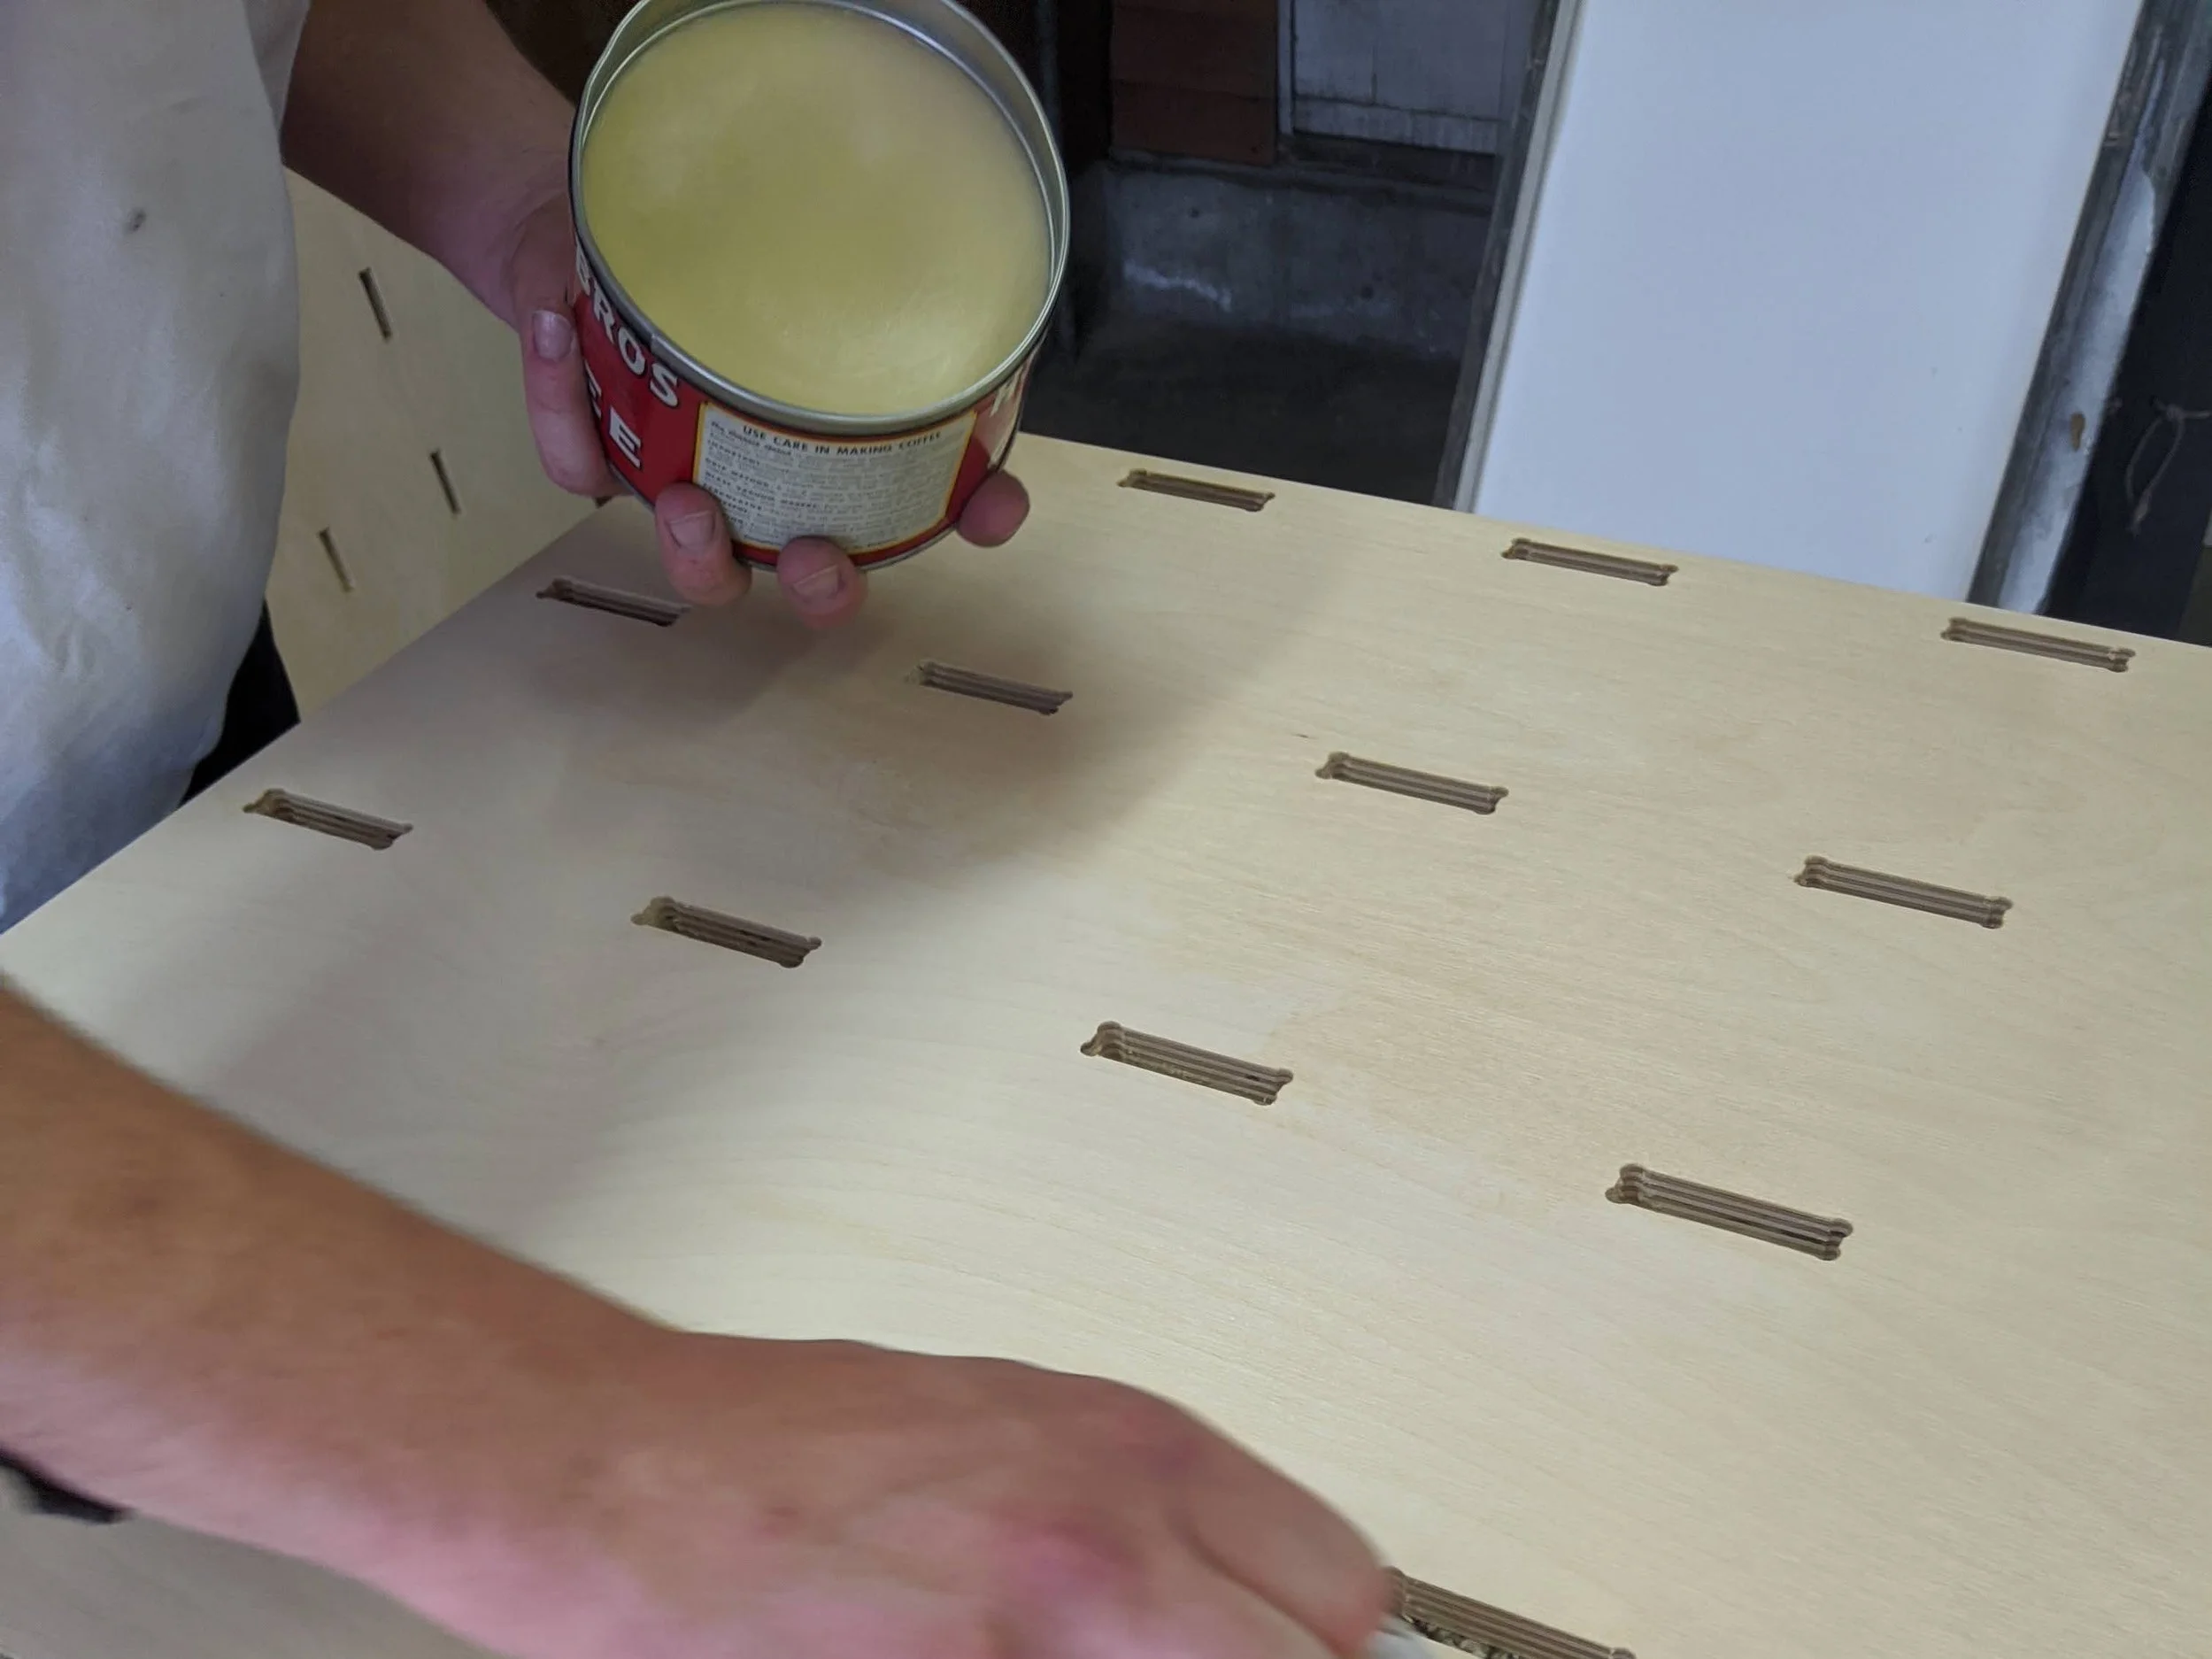
Beeswax - Bob made his own by melting together mineral oil and beeswax. The ratios can be set to your personal preference
Bob’s own beeswax mixture.
Where can I get the materials or find help?
The great thing about charcuterie boards is that they are smaller and finding the wood to build your project is easier and cheaper. If buying locally is important to you, your local wood retailers and sawmills will have stock available to you. We (Welhous Studio) now carry charcuterie board stock, all kiln dried (and bug free!), available to purchase. We are also happy to answer any questions you may have about the materials needed or the creative process and brainstorming ideas.
There are videos and tutorials available online with a Google search or on YouTube. In the Boise area, a great resource to check out is the Maker Shop. If you don’t have the tools or equipment you need, you can purchase a day pass or membership and get access to all of their tools and equipment. They also have woodworkers on staff to assist you and answer any questions. They even offer classes on making your own charcuterie board.
Remember, the best charcuterie board is the one that fits your style. Happy charcutering!